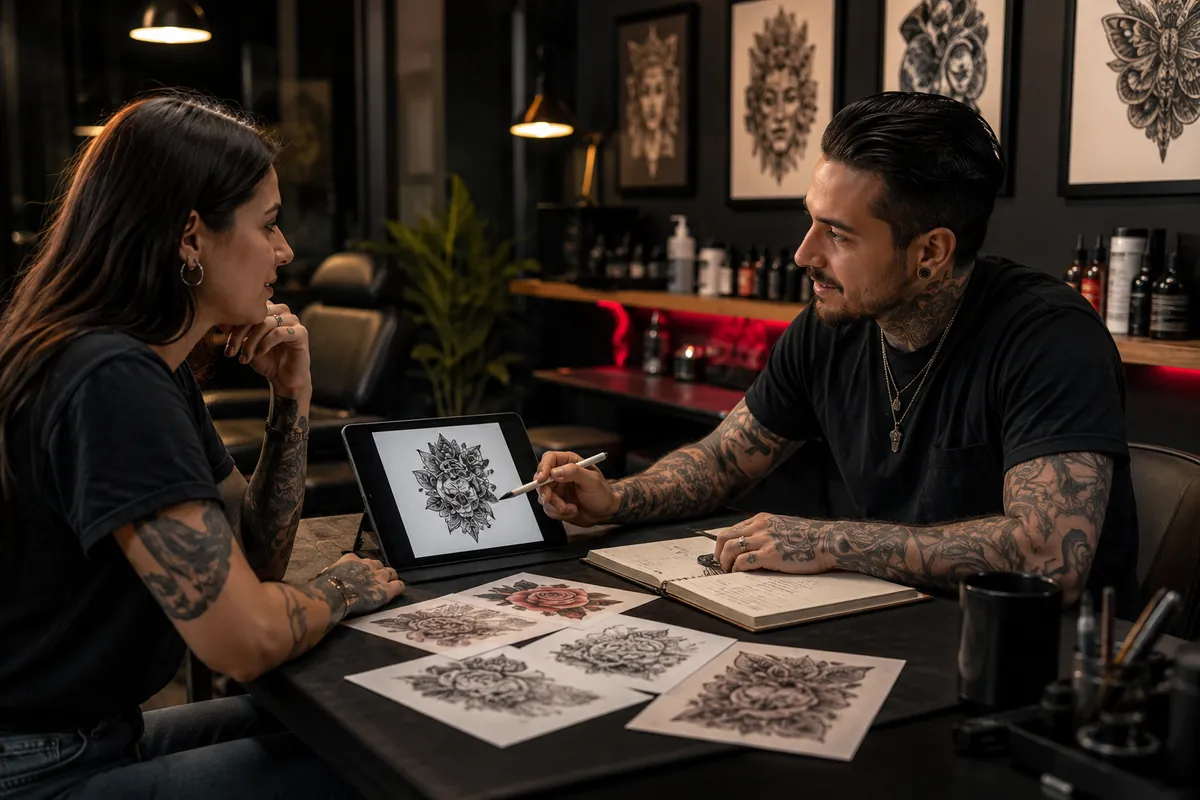
Walking into a professional tattoo studio for the first time can feel intimidating. The walls are covered in complex art, music is playing, machines are buzzing, and the artists may look focused enough that you wonder whether you are interrupting them.
It’s easy for beginners to feel like outsiders who don't know the secret language of the industry.
However, beneath the edgy exterior, tattoo artists are simply passionate visual craftsmen looking for collaborative, respectful clients. Miscommunication during the initial consultation is the primary reason for overpaying, receiving a design that doesn’t quite match your vision, or accidentally offending your artist.
To make that collaboration smoother and less awkward, here is a practical guide to studio etiquette, pricing transparency, and reference preparation.
Step 1: The Art of Preparing Your References
When you approach an artist, saying "I want a cool dragon on my arm" is a recipe for disaster. What you consider "cool" might be a hyper-realistic grayscale dragon, while your artist specializes in a flat-color cartoon illustrative aesthetic. You must bridge the visual gap.
| Bring this | Why it helps | What to say | What to avoid |
|---|---|---|---|
| 2-4 visual references | Shows style, mood, and detail level | "I like the line weight here and the shading mood there." | Asking for an exact copy of another custom tattoo |
| Placement photo | Helps the artist understand scale and body flow | "This is the area I am considering; does the size make sense?" | Refusing all placement adjustments |
| Budget range | Lets the artist adjust size or complexity early | "My budget is around $400. What version works within that?" | Haggling after the quote |
| AI mockup or sketch | Turns an abstract idea into a clear starting point | "This is a direction, not a final stencil. Please interpret it in your style." | Treating the mockup as a finished tattoo file |
How to Build a Professional Reference Package
An ideal reference package consists of 2 to 4 clear images. You should clearly break down what you like about each image:
- Image A: "I love the exact linework and thinness of this design."
- Image B: "I like the placement and how it curves around the wrist here."
- Image C: "I love the moody, dark shading style used on this piece."
The Golden Rule: Respect Custom Work
Never hand an artist a photo of someone else's custom, completed tattoo and say, "Give me this exact same thing." Copying another artist's unique work is considered a massive breach of ethics in the tattoo community. Instead, tell your artist, "I love this design by another creator—how can we interpret this concept in your own unique signature style?"
Step 2: Decoding Tattoo Pricing and Budgets
Tattoo pricing is rarely a flat rate found on a menu board. It is a variable calculation that accounts for time, materials, placement difficulty, and the artist's regional reputation.
Hourly Rates vs. Flat Piece Rates
- Hourly Rates: Most custom artists charge anywhere from $150 to $350+ per hour. This clock runs while the needle is touching your skin. It generally does not include stenciling time, but it does cover short mental or bathroom breaks.
- Flat Rates / Day Rates: For larger, multi-session projects like a full backpiece or a sleeve, artists will often charge a flat "Day Rate" (typically ranging from $800 to $1,800+). This secures their undivided attention for a 6 to 8-hour block.
How to Have an Honest Budget Conversation
Do not be afraid to disclose your budget upfront. It is helpful to say: "I have a hard budget of $400 for this piece. What can we do within this range?"
A professional artist will never judge you; instead, they will adapt the design to fit your wallet. They might suggest shrinking the scale by 10%, simplifying intricate details, or changing heavy color packing into elegant, faster-moving dot-work shading to save you time and money.
Step 3: Studio Etiquette: Do’s and Don'ts
Once you’ve booked your consultation or your actual tattoo day, adhering to unwritten studio etiquette will instantly make you your artist's favorite client of the week.
The Absolute Do’s:
- Do Trust Their Expertise: If an artist tells you that a tiny micro-word will blur into unreadable ink on your ankle, listen to them. They are protecting your body art investments from looking bad in three years.
- Do Practice Good Hygiene: This sounds obvious, but you are going to be in close physical proximity for hours. Shower thoroughly, wear clean clothes, and avoid heavy colognes or perfumes that can cause irritation in a small studio room.
- Do Wear Appropriate Clothing: Wear loose clothing that gives effortless, uninhibited access to the area being tattooed. If you're getting a thigh piece, bring loose shorts. If you're getting a shoulder piece, wear a tank top.
The Absolute Don'ts:
- Don't Bring a Massive Entourage: Bringing one supportive friend or partner is totally fine (always check studio rules first). Bringing a group of four vocal friends crowds the artist's workspace, creates distractions, and disrupts the focus required for clean linework.
- Don't Haggle on Pricing: Tattoo equipment, sterilized needles, premium inks, and studio insurance are expensive. Haggling over an artist's rate communicates that you do not respect their art, training, or livelihood. If you can't afford it, politely ask to save up and book at a later date.
Step 4: The Tipping Etiquette
In Western tattoo culture (especially across North America), tipping your artist is standard practice to show appreciation for excellent service and a comfortable experience.
- Standard Rate: A tip of 15% to 20% of the total cost of the tattoo is standard, much like high-end salon or hospitality services.
- Alternative Tipping: If you are working with a high-profile artist whose flat rates are already thousands of dollars, or if you are in a country where cash tipping isn't culturally ingrained, bringing a thoughtful gift, like locally roasted coffee, specialized art books, or handmade items, is often appreciated.
Eliminate the Guesswork Before the Consultation
The most common communication breakdown happens when a client cannot show the scale and placement they want. If you are still choosing the least intimidating spot for your first session, read the tattoo pain map first. It will help you choose a body zone that fits both your nerves and your design.
You can also remove a lot of awkward guesswork before you arrive. Use our AI Tattoo Generator to flesh out an abstract concept into a clear visual direction. Then open the Try-On Simulator to map that design onto a photo of your own body. If you are comparing styles, this pairs especially well with our guide to fine line vs. traditional tattoo aging.
Print out or save the resulting high-resolution mock-up and show it directly to your artist during day one of your consultation. They will immediately see your exact goals, understand your commitment, and be able to provide a precise pricing estimate instantly.
After the appointment, the conversation does not end. Ask your artist for healing instructions, then compare them with our tattoo aftercare guide so you understand what is normal and what deserves a follow-up message.
Preview the idea before you book ink
Use AI Tattoo Generator to turn your concept into a visual reference, then test placement on your own photo before talking with an artist.
Create Tattoo